READ THOROUGHLY….
Staining your pavers or Mexican Pavers, is a great way to add flair and color to your floor. I’ve heard lot’s of reasons why people don’t like the yellow and pink colors that super saltillos become after applying sealer. Some floors have replacement pavers all over so you may want them stained, now even though the replacements don’t match, by staining them it doesn’t matter because they blend right in. Some customers like a light white wash which will make mexican saltillo clay tiles turn more of a pink and peach like color. Some prefer a darker color like spanish oak on their unglazed pavers because it gives a rich, warm, old spanish antique style floor feeling to it like you see in restaurants and villas south of the border.
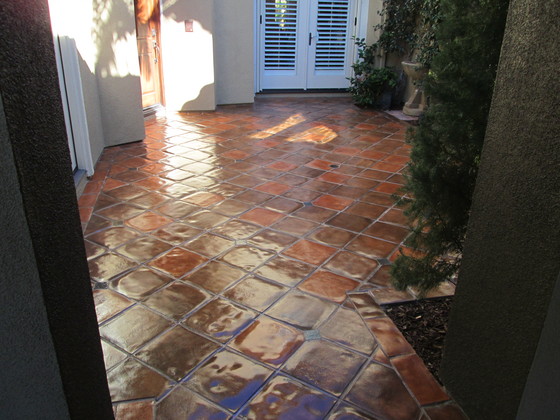
After
Another reason we stain pavers, and this is where custom staining and color matching is real important, is because for instance if you stain a newly installed floor, it all looks the same. But, if you add on a room or two, or even replace 25 broken tiles, throughout a 500 square foot floor that’s 20 years old, what will happen is people get the cracked tiles replaced by a tile installer, handy man, or even a do it yourselfer and they put in the closest pavers they can find to match, but they rarely do. So we custom antique stain them to blend the new replacement tiles to match the existing flooring and make it look older and more rustic.
We also do jobs where customers want them stained a few different colors.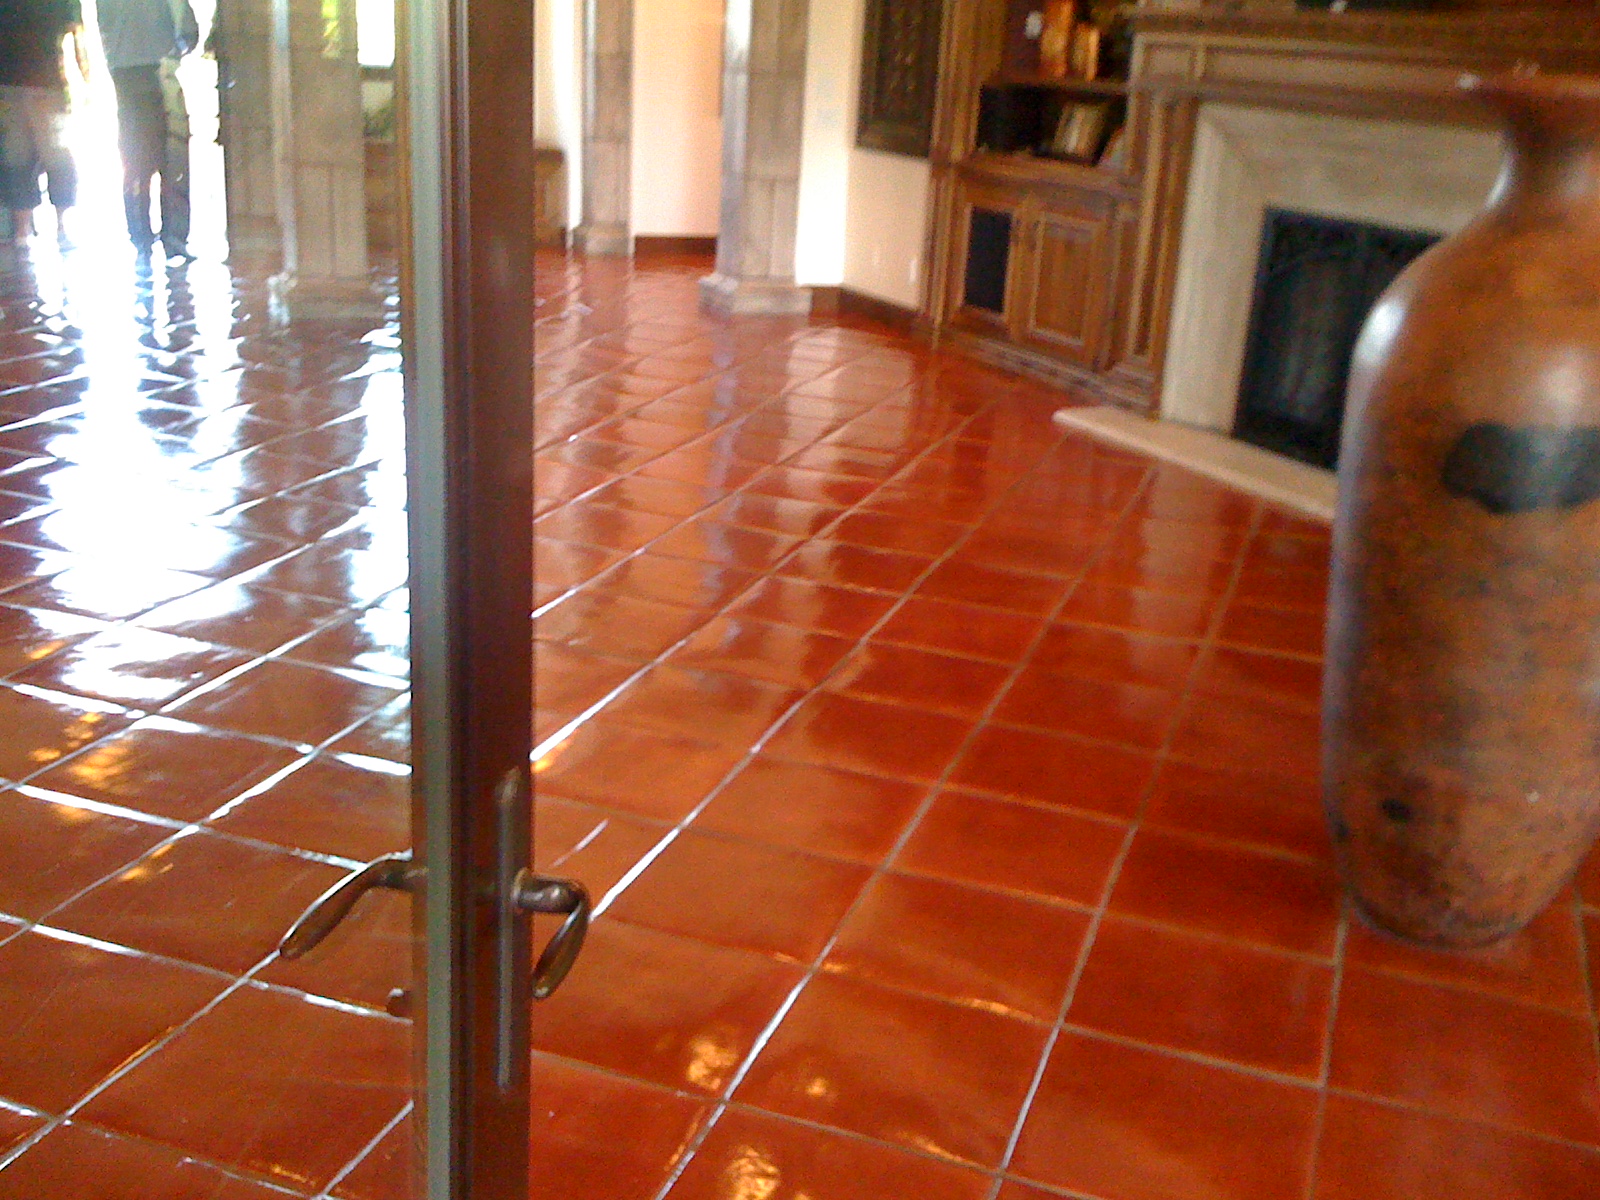
We did a job in Encinitas California, where she wanted me to stain randomly multi colors through out the whole floor, making sure that we were keeping with the natural pattern that the pavers already had. They were sun bleached and water damaged so the stain really rejuvenated the color and brought the pavers back to life. We stained some spanish oak and others terracotta color. we also mixed the two stains together, creating a third color.
Stain can be applied in Light Coats, medium light, or solid color coats. Best if you can start with one light coat and by doing it this way, the customer can see the stain on the whole floor, not just a couple of tester tiles because some tiles need more stain then others. for instance the darker terra cotta ones, you may need two coats, while you may need four coats of stain on the yellower pavers. So basically, start with a light coat of stain to see if you are happy with the color. Then proceed to adding more coats of stain. If you are happy with a tiles color, skip those tiles that you like in the next stain application.
After applying coat two and three, you’re now in the medium light category and the tiles are getting more of a solid color, and the blemishes and the natural characteristics will begin to fade. Coats over four will just really paint the tile and it will effect the way the sealer bonds to the paver.

Now i’m going to tell you helpful techniques for staining. These methods will work for the staining of Super Saltillos, Adobe Tile, Regular Saltillos, Lincoln Pavers, Tecate paver, Manganese paver, Terracotta Tile, Spanish Tile, and many more shapes, types, and sizes.
Pavers out of the box are the easiest to stain because your pavers have no grout, or walls in the way just the paver. First take an abrasive pad and sweep each paver to get off the thin layer of dust that’s on the surface. This dust comes from the manufacturing plant where they then travel to the us and California. Once that’s done, you can apply the first coat of stain. Remember your raw pavers are porous like a sponge, so you need to thin the stain first. So you will make two batches of stain. 1 in each pan. A big batch and a smaller thinner batch. you want to make a bigger batch to do all of the pavers you want done, plus 20 % extra which is recommended in case there are cracked or chipped pavers in the box ( there are always just some ugly ones). You don’twant to run out of stain, making another batch can go really bad if you’re not completely accurate with your measurement. The stain could come out too thick, thin, heavy, or light and then it’s an uneven job and an embarrassing floor.
Just keep mixing your master batch every time you take some out, making sure you get the pigments, that settle on the bottom. Once you have the stain the right consistence you can start staining the pavers. Depending on which stain you use, follow the directions of the manufacturer of that stain. We use a sponge to apply the particular stain we use which is water based (meaning the carrier of the stain is water). The water based stain, is more for how it seals later once we have it stained. Turpentine and linseed oil will darken, and stain. They dilute the stain with mineral oils and both of these darken pavers. I find after staining, the sealer doesn’t get a true bond. The oil fills the pores so the sealer cant get in, fill it, and ultimately, seal the tiles correctly. It may look good at first, but, long term I’ve seen the sealer peel, blister, and of course turn white. Why? Because oil and water do not mix! so the moment they grouted the tiles and start washing it for maintenance, it got cloudy and hazy underneath the sealer. It’s the same as if you set a glass on wood, and the condensation rains down the glass leaving a white ring in the woods finish. That’s what will happen to floors, but slower, more over time, not right away. Staining is an art so pay attention.
This is where thinning the stain comes into play. Dip your sponge into the pan, and let the stain absorb on the sponge, not a lot, just enough to do 1 or 2 tiles. you will get the hang of it when you feel how the tiles take the stain. Go in side to side, front to back motions so that you do not leave streaks or too heavy and blotchy portions on the paver, do all the pavers and apply 1 coat to see if you like them. This works only onold antiqued floors that have been stripped, getting off all the old sealer, washing it thoroughly, and then apply the first layer of stain. Apply more coats until you get it to your desired color. NOTE be careful at the grout not to get to much stain in it because you will need to come back later and remove the excess and that sucks… So be detailed.. Also on restoration projects like this you need to tape off walls and carpets. That way you can get as close as you possibly can to the edges, without ruining the carpet, getting stain on the wood cabinets, etc..
Remember to constantly stir your stain, the big batch and the small batch in your pan. You need to protect the stain once you’re done with the staining, so you need to apply a protective barrier to keep it from waring off. The glazed sealant magnifies the tiles once the sealers applied, giving them a translucent look through the shine and makes it water tight, while repelling oil and grease.
Call or Email for info or estimate
(707) 384-1172
Fritz_wittmann@yahoo.com
California tile refinishers stains, strips, cleans, and seals mexican pavers all through california in cities and counties such as Contra Costa County, Tara Hills, El Cerrito, Rollingwood, Hercules, Rodeo, Pinole, Port Costa, Davs, Richmond, North Richmond, San Pablo, Kensington, Clayton, Hasford Heights, Concord, El Sobrante, Danville, East Richmond Heights, Lafayette, Crockett, Martinez, Bayview – mountalvin, Moraga, Acalanes Ridge, Orinda, Alamo, Pleasant Hill, Alhambra Valley, San Ramon, Blackhawk. As well as Walnut Creek, Elk Grove, Visalia, Fair Oaks, Auburn, Camino Tassajara, Vine Hill, Canyon, Shell Ridge, Castle Hill, San Miguel, Clyde, Reliez Valley Contra Costa Centre, Pacheco, Diablo, Northgate, Mountain View, Norris Canyon, Antioch, Somervile, Brentwood, Port Chicago, Oakley, Point of timber landing, Pittsburg, Nortonville, Baypoint, Knightsen, Byron, Discovery Bay, Marin County, Solano County, Los Angeles County, San Diego County, Yolo County, Sacramento County, Rancho Solano and much more.