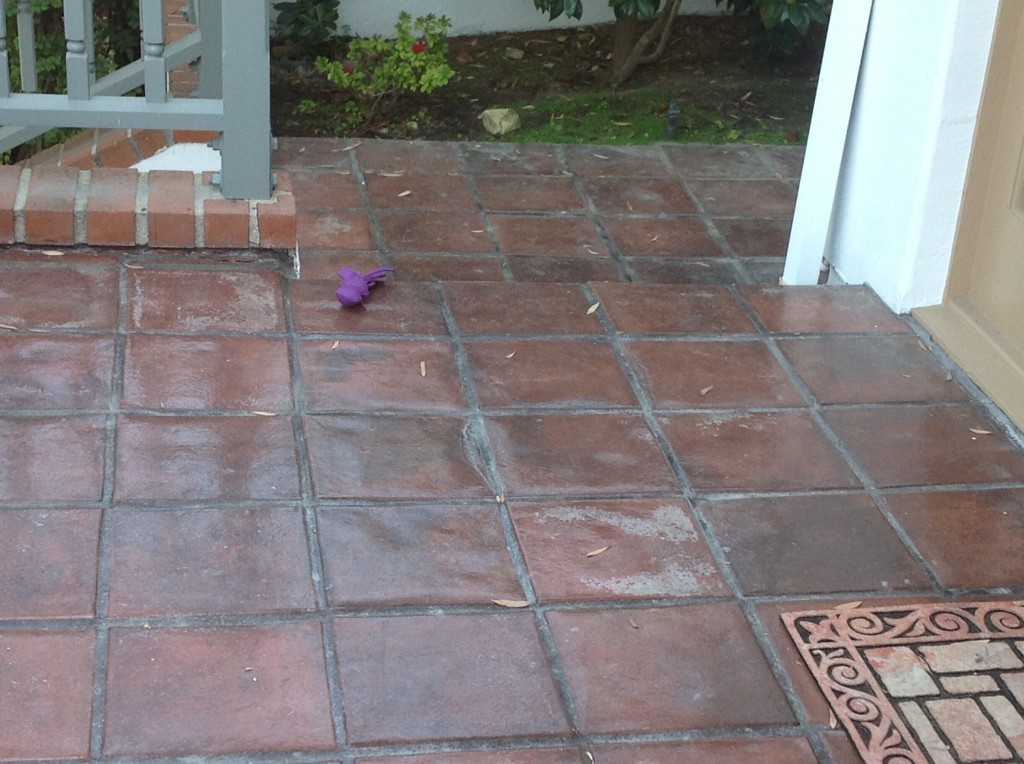
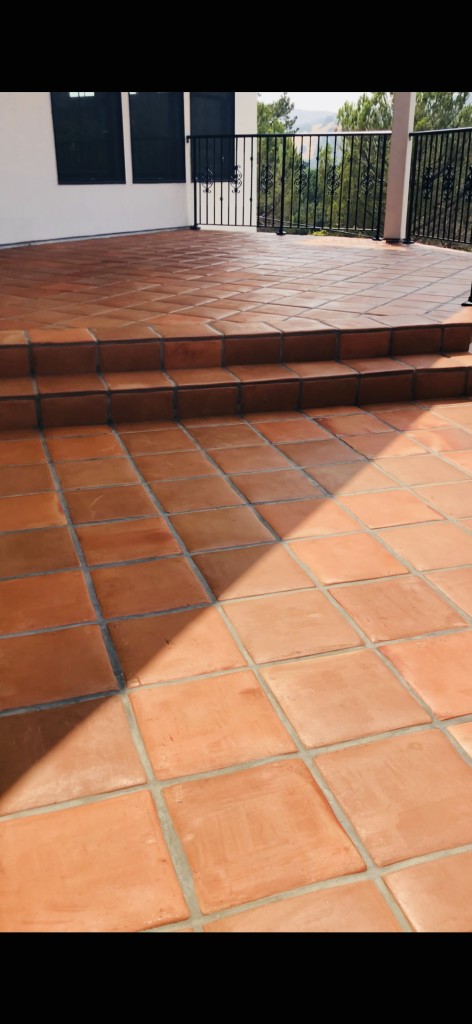
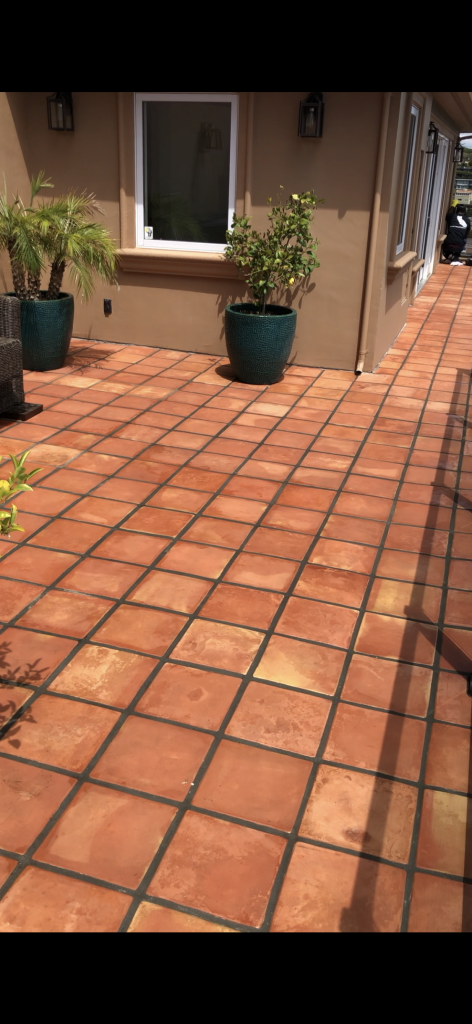
 Are your exterior terracotta tile looking horrendous? Just want to spruce them up or completely revitalize your floor?
Well you are in luck because this article and short 3 minute video is going to unlock the door and show you how you TOO can have beautiful terracotta tile floors that your guest can’t help but notice and compliment you on at your next party or gathering.
The first thing you need to know when you decide to restore your outside terracotta tile, is to determine if the terracotta tiles need the old sealer stripped off or if they just need cleaning.
Look for a shiny surface and determine if the tiles get dark when you wet them.
If shiny and they do not turn dark when you wet the tile, then there is a high probability that you have sealer on your terracotta or Saltillo tiles and it must be stripped before any cleaning can help anything.
ALSO
Does water bead up on the surface of the tile like glass? Or does liquid absorb into the tile like a sponge.
If water beads up chances are there is a Penetrating or Enhancing sealer which are also the best sealers to use outdoors. And these make cleaning and maintaining EXTERIOR terracotta tiles SO much easier.
The purpose of this article is cleaning.
Our first steps are to sweep and remove all furniture and plants or use a blower to remove any leaves and debris. We do not use a high-pressure washer because it saturates the terracotta full of water and if there’s any cracked tiles or broken grout, the water pressure forces water in those cracks and underneath the tile, creating more efflorescence and bleaching in cracked grout and it takes forever to dry out.
On top of that, I’ve seen the surface blasted off the Saltillo terracotta tiles, obviously creating irreversible damage.
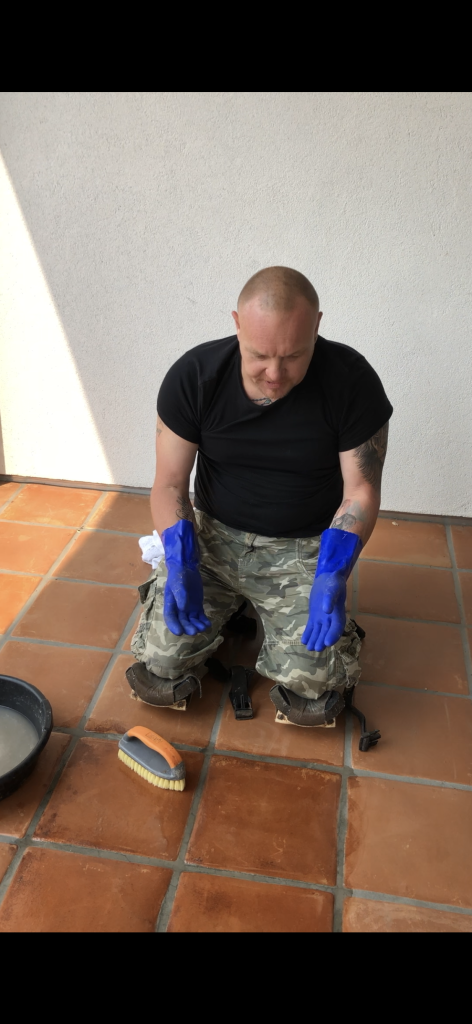
The best way to clean terracotta and / or Saltillo tiles is on your hands and knees using brass tipped bristles and green scrubber (steel will scratch and damage).
The most important part is the acid cleaning solution.
You see, the tricky part about recommending acid to a lot you DIYers is that there are 32 different types of acid, we use only five of them, each one designed to eat and attack certain algae and fungus, mold or rust, calcium, lime or even efflorescence and grout residue left by your last tile installers. Stick with the acid cleaner recommended by your local tile cleaning supply store.
For the sake of this article you can click here to get acid that I recommend for DIY’ers:
Click Here for acid.
Now that you have your cleaner, brass tipped bristles, a bucket, green scrubbers, glues and rags to buff and dry. Fill your bucket with some hot water then add some of the acid.
Spread the mix out on two tiles at a time with the green scrubbers, then scrub the grout with the brass tipped brushes and buff dry with rags or any other cloth.
If the tile still looks dirty make your acid mix stronger then try again.
What your doing is a test to determine how strong you acid mix needs to be and how much effort it’s going to take. And most important of all how happy you’re going to be with the finished result.
When satisfied with the look, the next step is to seal your terracotta tiles to protect them from the elements. I do NOT recommend you put shiny topical coatings or lacquers on EXTERIOR terracotta or Saltillo tiles as these sealers have a tendency to fail and get broken down over time due to rain, sun bleaching, traffic, and they tend to turn white, haze, and peel and blister.
What will they say when they step foot on your BEAUTIFUL terracotta tile floor.
Stop wasting your time, energy, and money, on solutions that JUST DON”T WORK!
Planning Your Next Remodel Project?
Call or E-mail to see if you qualify for a CUSTOM AUDIT
HURRY because our schedule fills up fast so secure your spot!

